
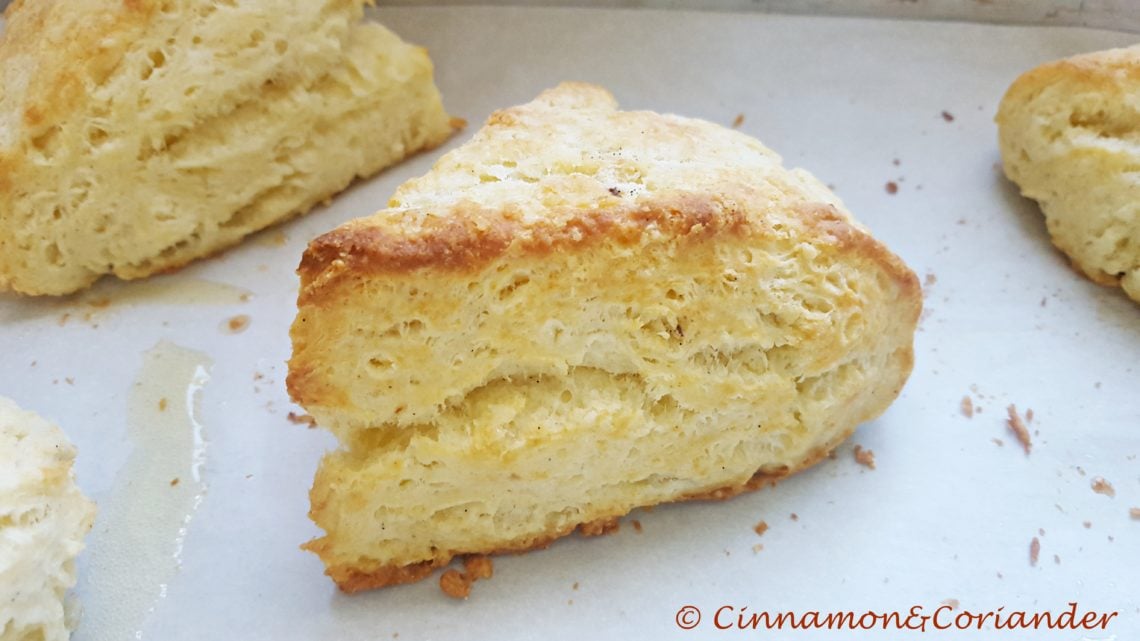
Never-fail Flaky Scones | The only Scone Recipe you’ll ever need!
Dieser Beitrag ist auch verfügbar auf:
![]() Deutsch (German)
Deutsch (German)
Be it for brunch or afternoon tea – scones might be my favourite baked treat ever. They always bring back memories of wonderful trips to picturesque little English towns where we would rest our hurting feet after a morning hike in one of those quaint tearooms, sipping tea and nibbling on freshly baked scones.
The best reward ever! Funnily though, it was here in Canada where I´ve eaten the best scones so far. North American scones are often a bit crispier on the outside than the tender, rather pale English Scone and they are also quite flaky.
My recipe for Never-Fail Flaky Scones aims for this combination of crispy outside and flaky texture while still being tender and soft on the inside. This is achieved by a special folding technique, which I´m going to present today.
What makes this scones recipe the best scone recipe:
There are a lot of different scones recipes out there. With and without eggs. With butter or lard. Some using milk, some buttermilk, others cream or sour cream.
I´ve tried most combinations and got to admit that a lot of them promise perfection and turn out quite disappointing. This is what I have learned:
Which dairy shall I use to get perfectly tender and risen scones?
I always seem to get the best rise whenever I opt for 1:1 buttermilk and sour cream! Sometimes, when I want a richer, more cake-like scone, I substitute some of the dairies by adding a whole large egg. But the truth is that it´s not the ingredients that matter the most.
It´s more the temperature of those ingredients.
What’s the secret to perfect flaky scones?
The ingredients for your scones need to be ICE COLD.
Also, to get the perfect rise and light and fluffy texture, everything depends on your technique, on how you mix and handle the dough.
For the flakiest scones, chunks of chilled butter are mixed into the flour with a food processor or rolled with flour to create large, thin sheets. Your butter should not be reduced to the texture of breadcrumbs as specified in many recipes. You want the butter pea-sized.
Also, you might want to incorporate at least 1 or better 2 letter folds into the process as this helps to build flaky layers into the baked scones.
How do I knead and shape my scones for perfect results?
When it comes to shaping the scones dough, I`ve read that gently patting your dough into shape is generally better than rolling it out. However, I do use my marble rolling pin when I roll my dough out during the folding process as my hands tend to be very warm 🙂
You can use your cold non-sweating hands or the rolling pin, it´s really up to you.
I also found that wedges or squares – where you cut the dough with a sharp knife instead of gathering up the scraps and re-rolling them – produce lighter scones.
Spread out or close together – how do I arrange my scones on the baking sheet?
Baking the scones close to each other is another trick. That way the dough has nowhere to go but upwards.
How do I make this recipe for Perfect Flaky Scones?
We start with the most important question: How do you want to cut your butter?
There are two methods for ensuring the butter is layered, rather than incorporated into the dough. One using a food processor, one for those of you, who´d rather use their hands.
Perfect Flaky Scones Method 1 – without Food Processor!
Cut your butter into 1½ teaspoon size chunks (16 chunks per 1 stick butter). Dump the mixed dry ingredients out onto a clean surface and scatter the very cold butter on top. With your hands, lightly coat the butter chunks with flour by tossing the two together a few times. Then, using a heavy rolling pin, roll over the mass, flattening the butter into thin sheets.
Gather the mixture up into a loose mass and repeat twice more.
Scoop the mixture into a mixing bowl and continue with the recipe. After the dough is formed, flatten somewhat and gently make 2 letter folds in opposite directions. This will help to build flaky layers in the baked scone.
Perfect Flaky Scones Method 2: with a food processor!
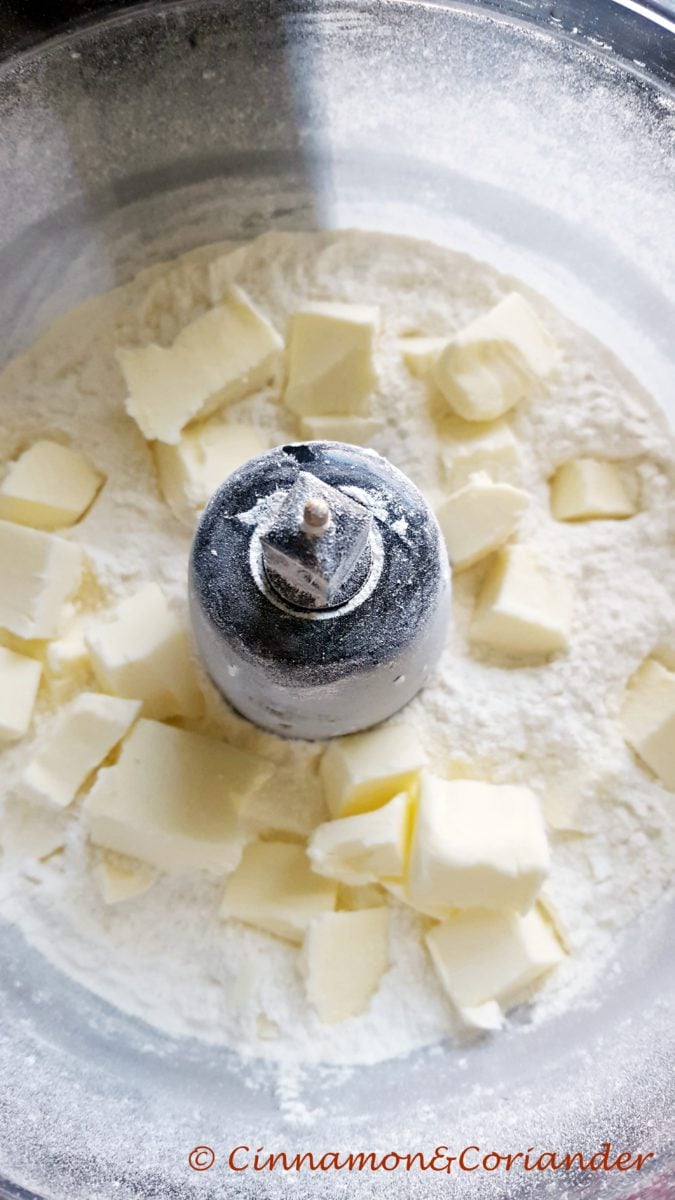
Cut the butter into little cubes and chill in the fridge or put them in your freezer for a couple of minutes. Add the dry ingredients to the bowl of a food processor.
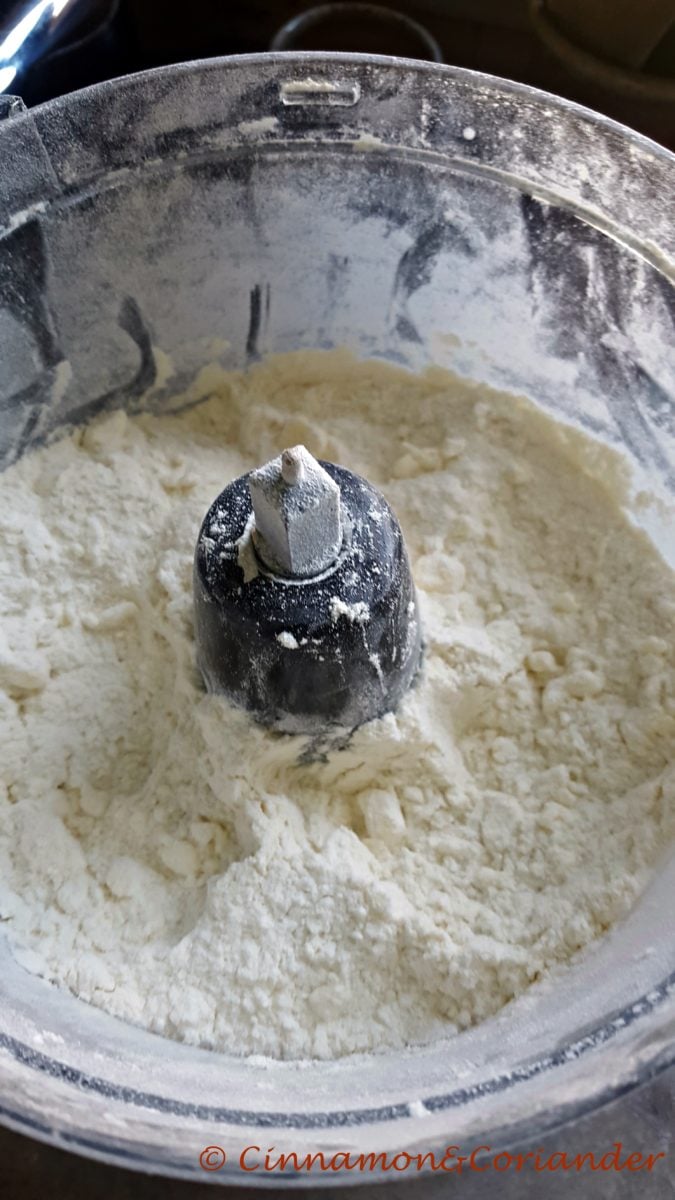
Scatter the very cold butter on top of the dry ingredients. Pulse the mixer to cut the butter into the flour, making sure not to cut the butter pieces too fine. Peas-size pieces are what you are looking for.
Add the wet ingredients and pulse the mixer a couple of times only to barely incorporate the liquid.
How do I do the letter-folds to get perfectly risen Flaky Scones?
Turn the scones dough out onto a clean countertop and finish by hand. After the dough is formed, flatten somewhat and gently make 2 letter folds (as for flakey pastry or croissant dough) in opposite directions. This will help to build flakey layers in the baked scone.
Just as the lightest bread is produced from the wettest dough, scones dough should be quite soft and almost paste-like. Don’t be tempted to work more than 1-2 tablespoons of additional flour into the dough—just enough to facilitate handling.
Don’t overmix the dough. In fact, handle it as lightly and minimally as possible. Never knead scones dough. You don’t want to activate the gluten in the flour any more than necessary.
For flaky, perfectly risen Scones you´ll need:
1/2 cup buttermilk
1/2 cup sour cream
10 ounces (2 cups) all-purpose flour, plus additional for dusting
1 tablespoon baking powder
1/4 teaspoon baking soda
1 1/2 teaspoons kosher salt for hearty scones OR 1/2 Tsp of Salt plus 2-4 Tbsp of Sugar for sweet scones
8 tablespoons (1 stick) (112 g) cold unsalted butter, cut into cubes, plus 2 tablespoons melted unsalted butter for brushing
Note: For buttery, richer and more cake-like Scones, substitute 1/4 cup of your dairy with a large egg. You can also use 3/4 cups buttermilk and one egg or 1/2 cup of buttermilk, 1/4 cups of cream and 1 egg or equal amounts of buttermilk and sour cream and 1 egg
Video Guide for this Never-Fail Scones Recipe:
Step by step instructions for the perfect flaky scones at home:
Adjust an oven rack to the middle position and preheat the oven to 425°F. Whisk together the buttermilk and sour cream in a small bowl.
In the bowl of a food processor, combine the flour, baking powder, baking soda, and salt and process until blended, about 2 seconds. (If adding dried herbs, citrus zest or spices you can add them now)
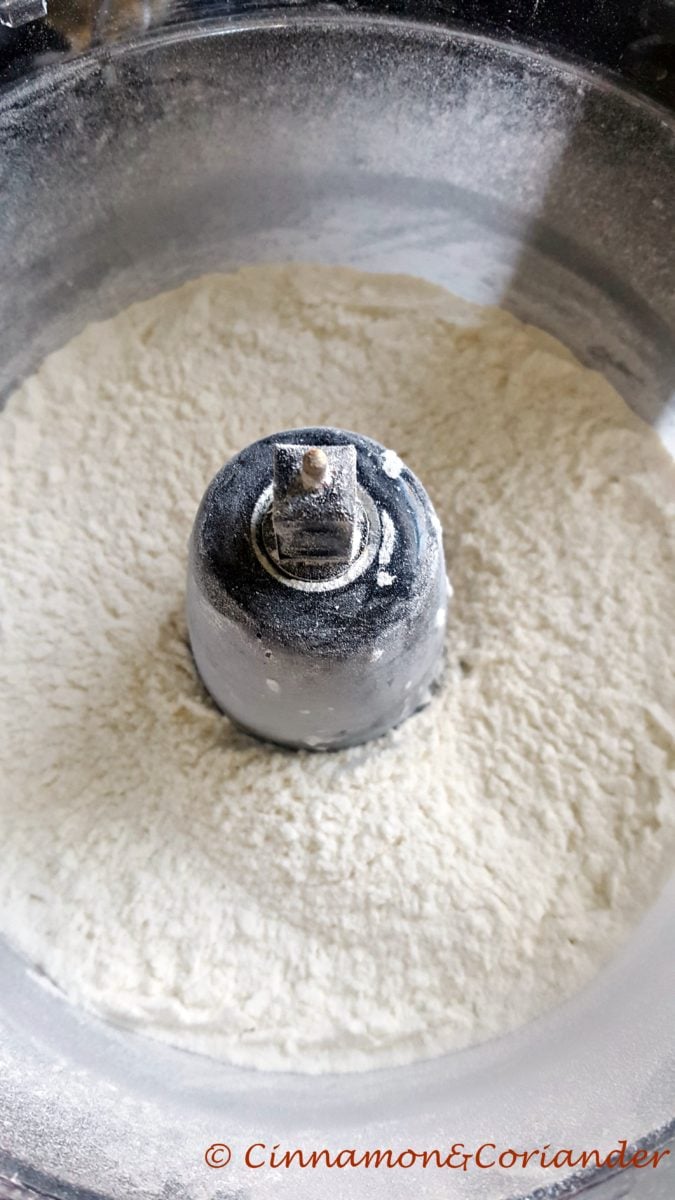
Scatter the cold butter evenly over the flour and pulse until the mixture resembles coarse meal and the largest butter pieces are about 1/4 inch at their widest. You are aiming for pea-sized butter chunks. Transfer to a large bowl.
Add the buttermilk mixture to the flour mixture and fold with a rubber spatula until just combined. Don´t stir around more than needed.
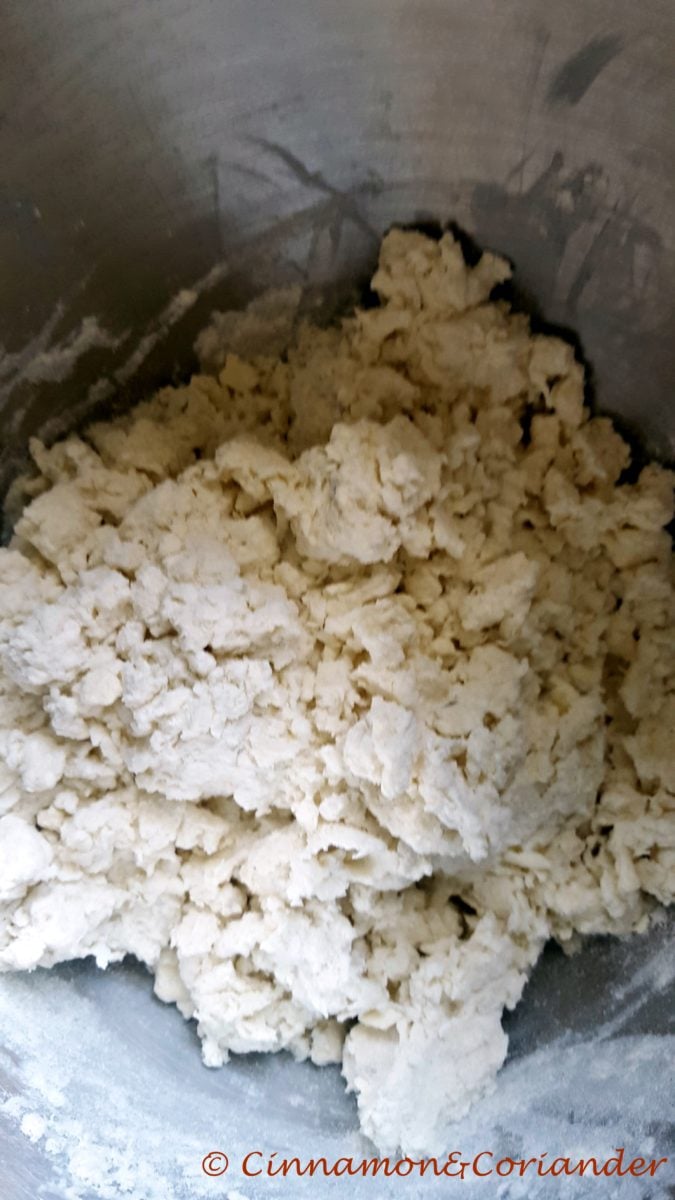
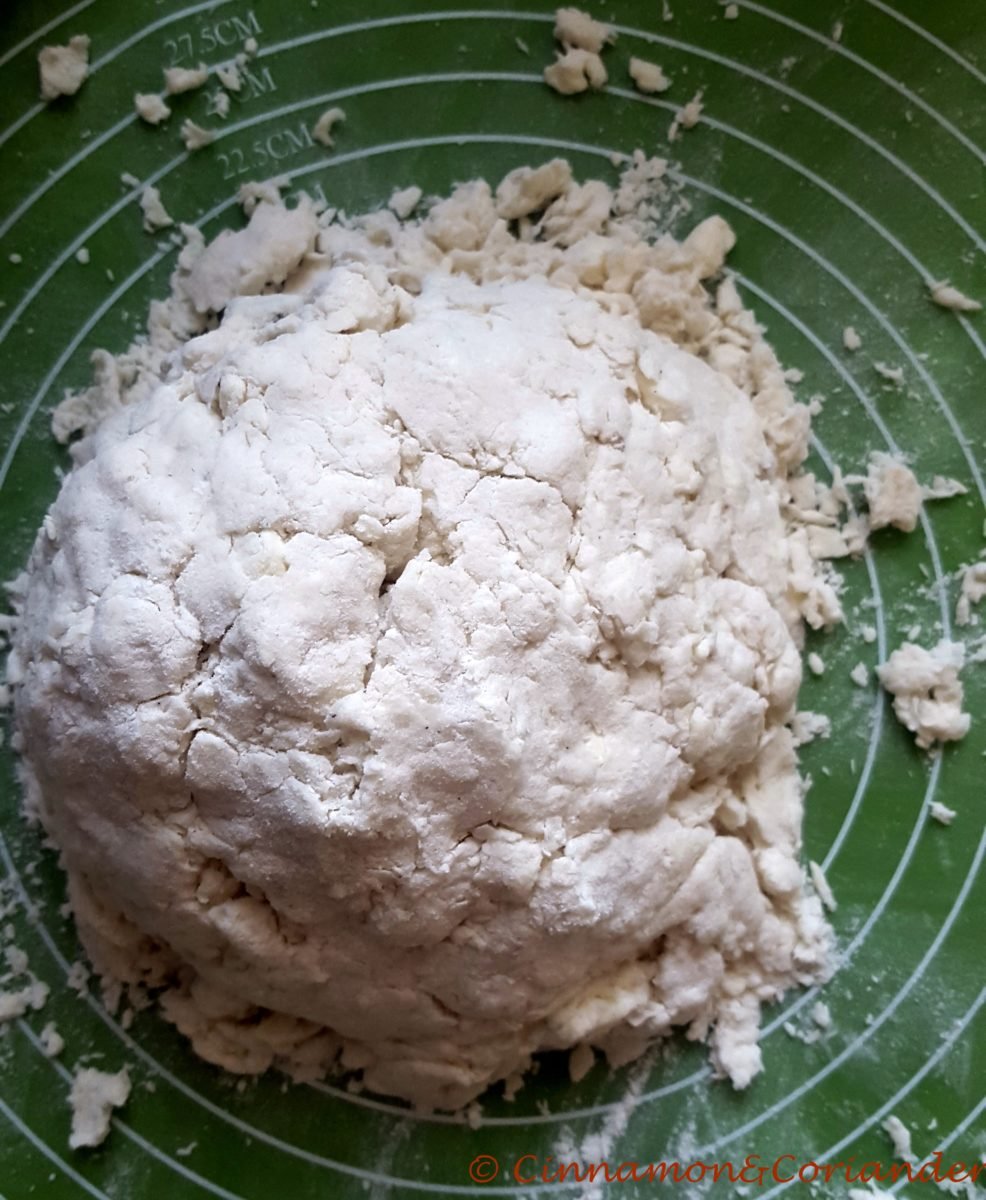
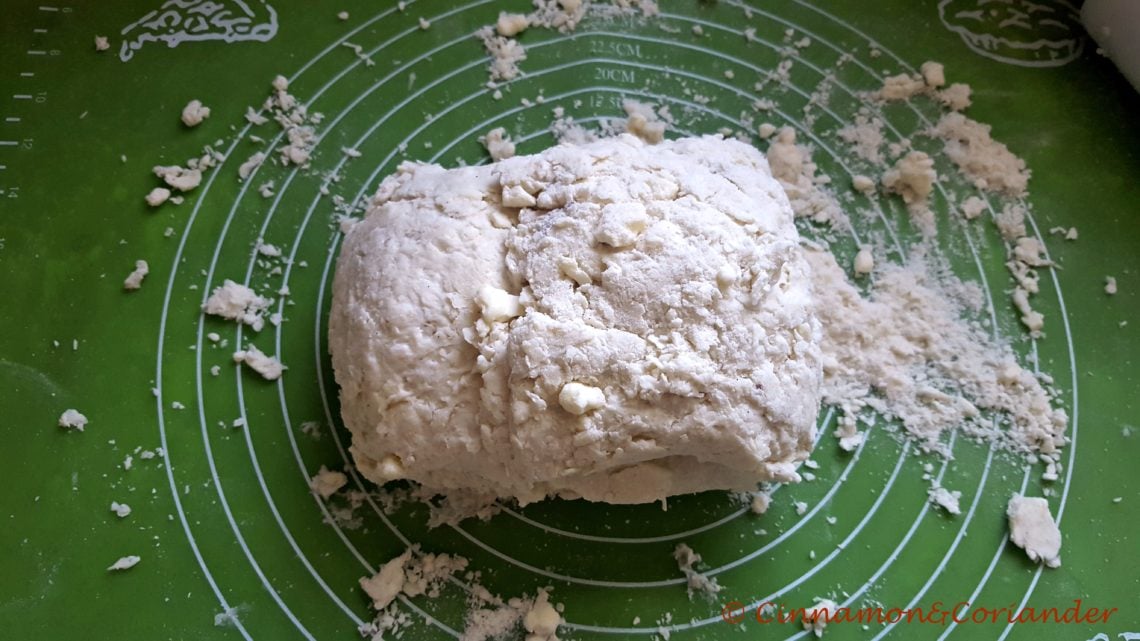
Transfer the scones dough to a floured work surface and shape into a ball – Yes, it will look awfully crumbly.
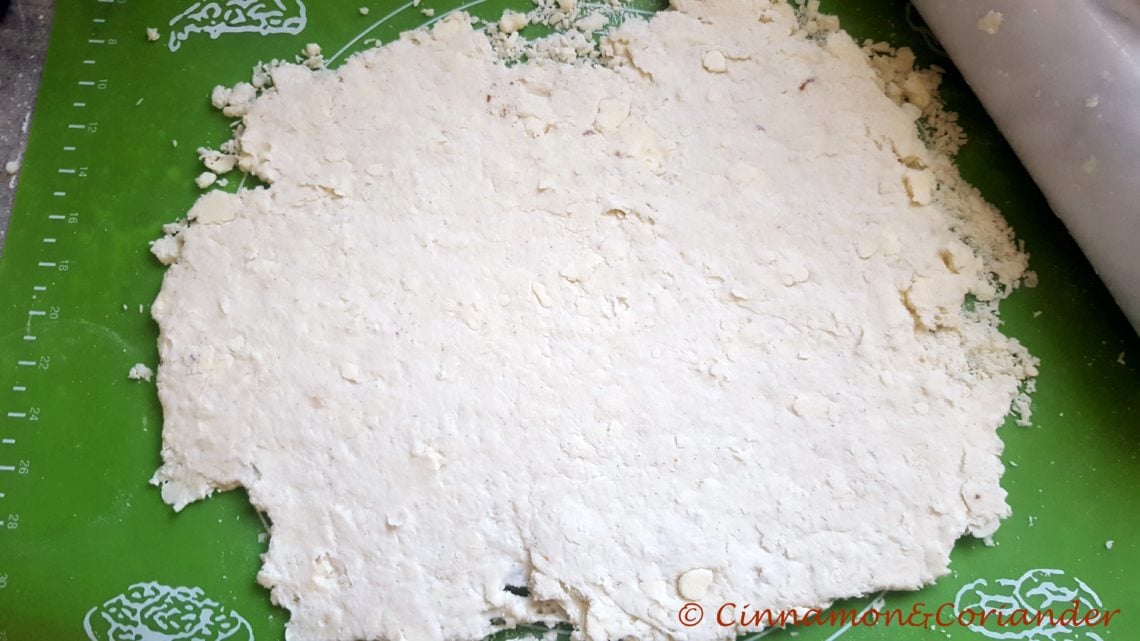
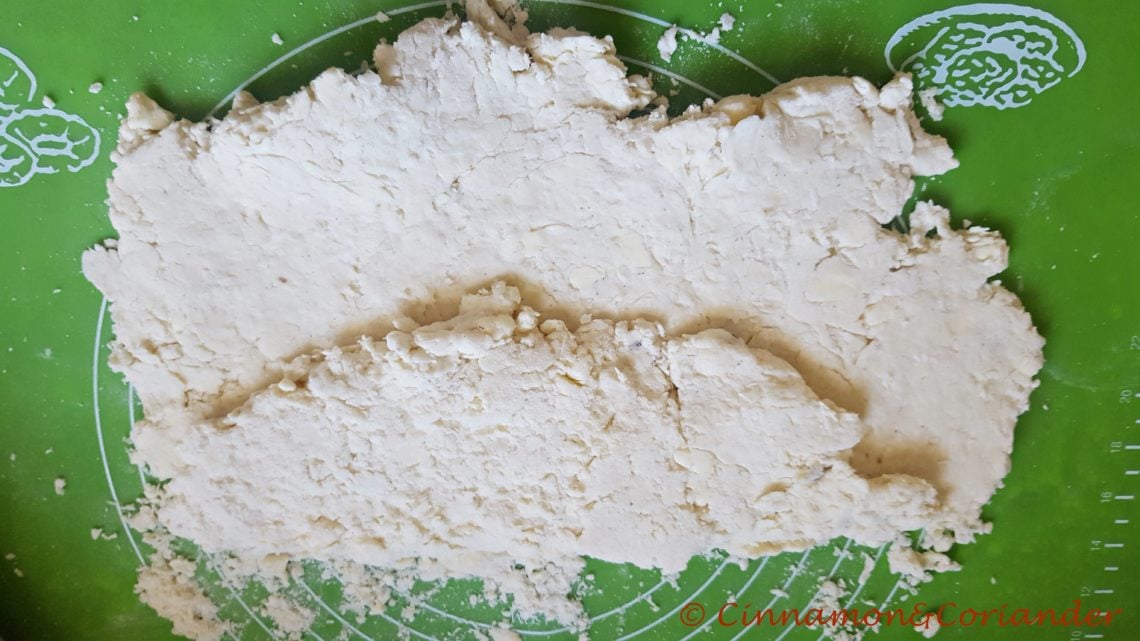
With a rolling pin, or your hands, roll or pat the dough into an improvised 12-inch square. Using a bench scraper, fold the right third of the dough over the centre, then fold the left third over so you end up with a 12-by-4-inch rectangle. Fold the top third down over the centre, then fold the bottom third up so the whole thing is reduced to a 4-inch square. Press the square down and roll it out again into a 12-inch square. Repeat the folding process once more. If you want to add frozen berries or chopped dried fruit, add them before the 2nd fold when you roll out the dough into a square. Add not more than 1 cup !!

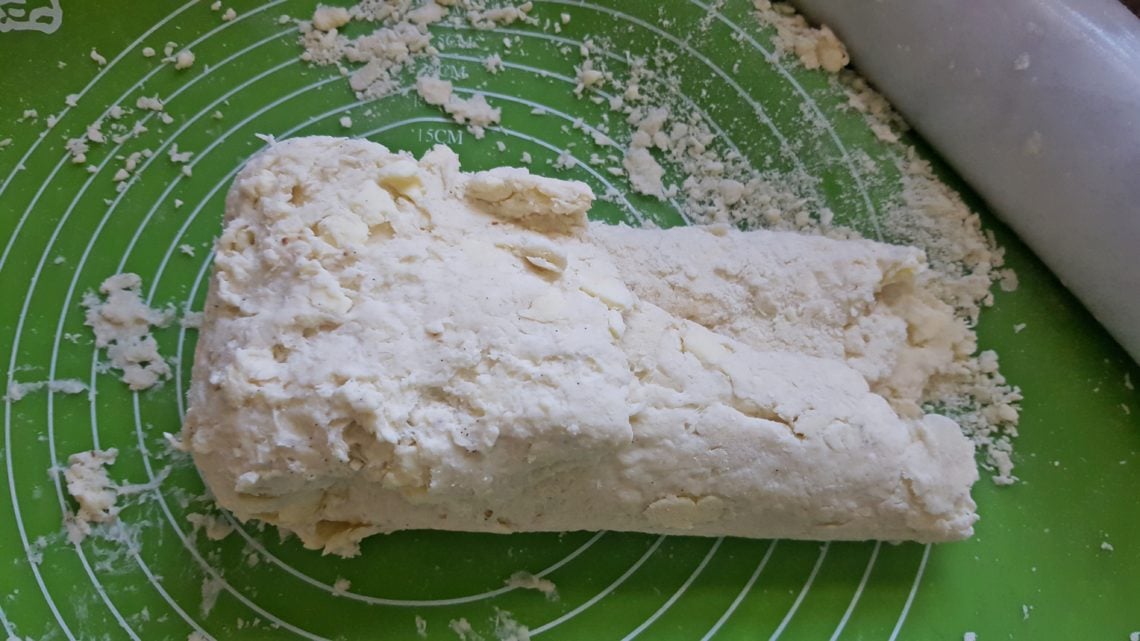
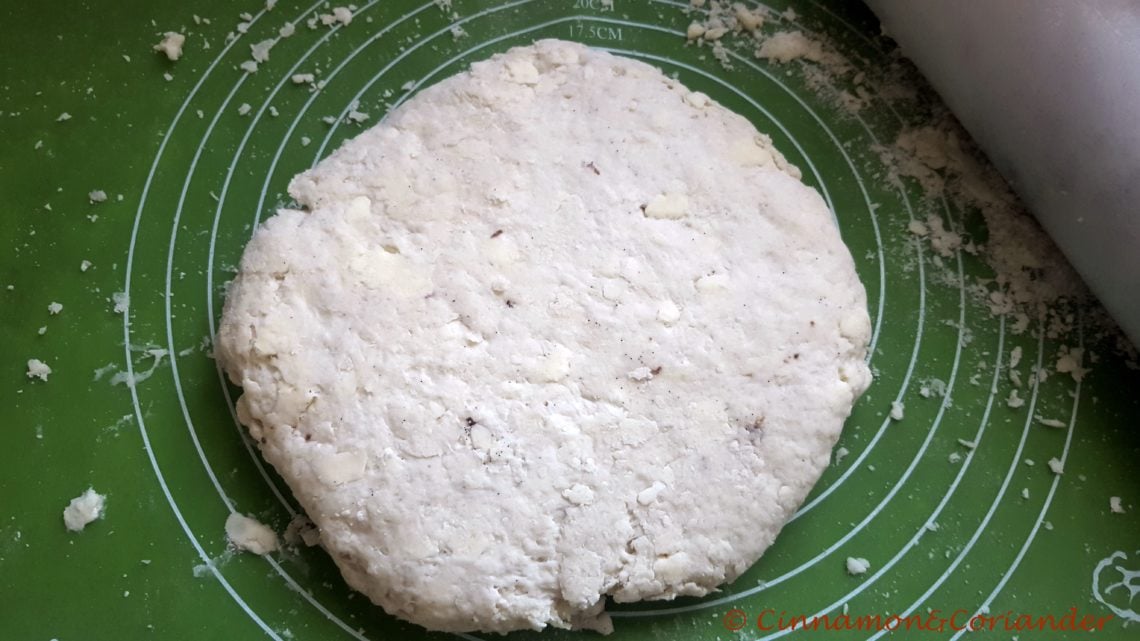
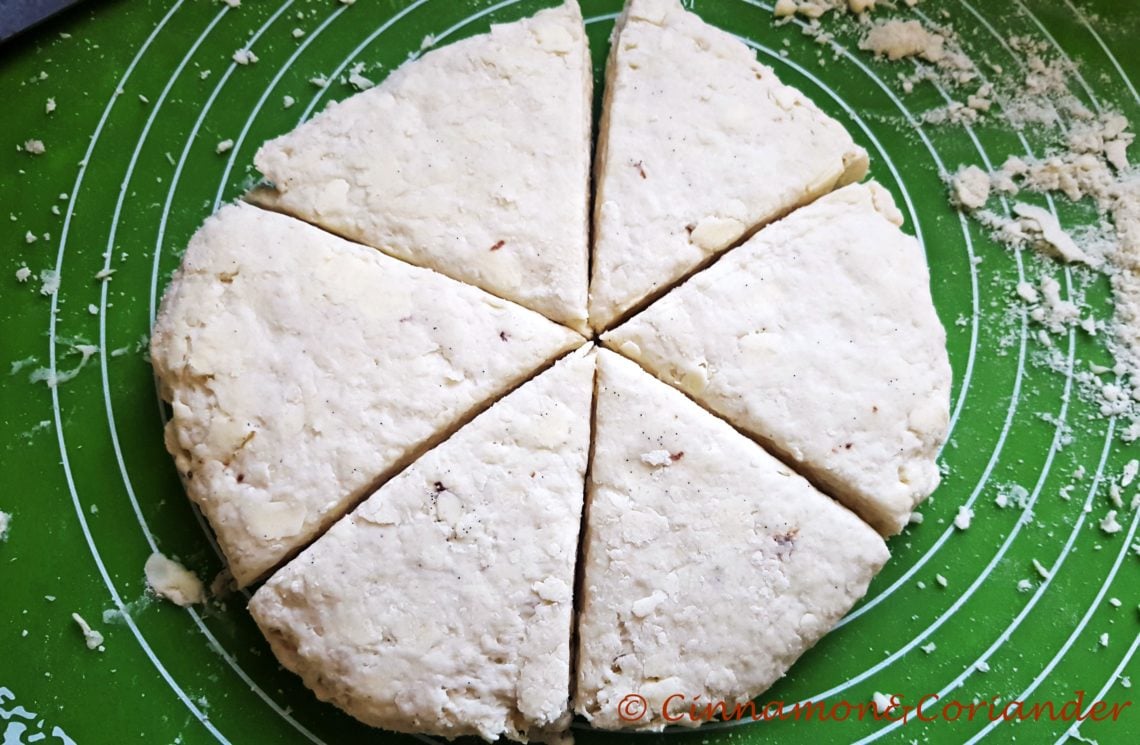
After the 2nd fold, pat the dough into a disk and cut into 6 wedges using a very sharp knife. Do this in clean decided cuts without moving the knife. If you use a cookie cutter, don´t twist it around!
Transfer the wedges to a parchment-lined baking sheet, spacing them about 1 inch apart. Do you see the little chunks of butter in the dough? These little butter peas will make your scones rise and make them super flaky and light.
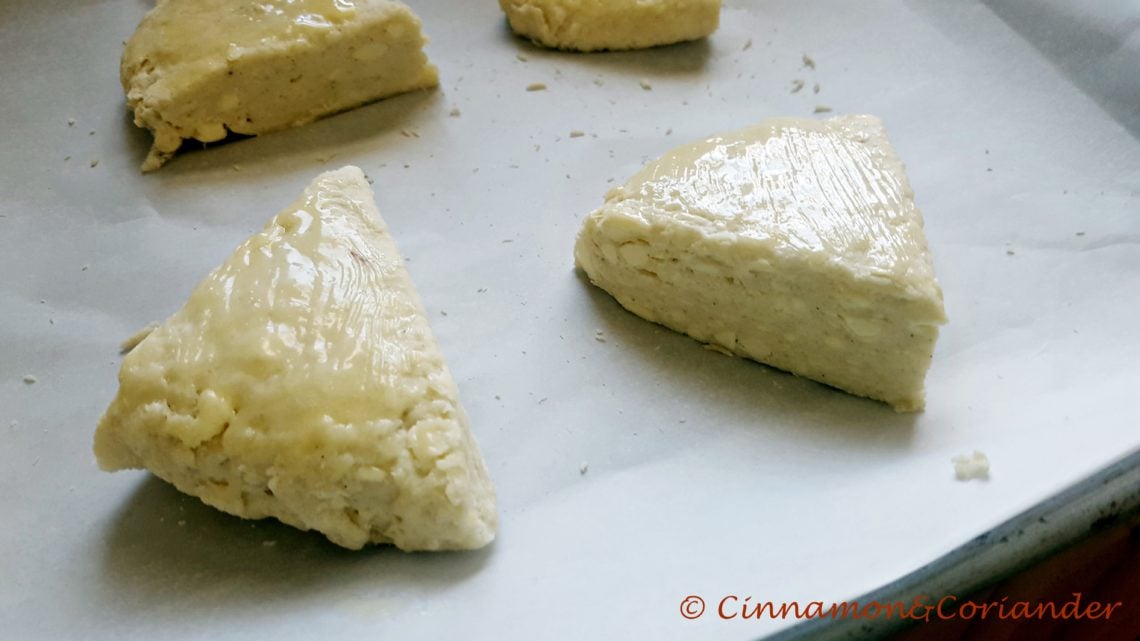
Brush the tops of the scones with the melted butter making sure that NO butter runs down the edges as this will prevent them from rising. Bake the flaky scones until golden brown and well risen, about 15 minutes. Allow them to cool for 5 minutes and serve.
Here are some tips for storing and pre-baking scones:
- Want fresh scones for breakfast…and fast? Just store the readily shaped scones in the fridge overnight. Cover the baking tray with cling film!
- You can freeze scones after cutting and before baking. Completely defrost before baking and increase the baking time as necessary.
- Leftover baked scones can also be frozen. Whenever you want to serve them, just thaw them completely and reheat in a 350° oven for 4-6 minutes or in a microwave for around 10 seconds, just to warm them up.


Hi Kiki,
vielen Dank für das Rezept. Ich habe es gerade ausprobiert, bzw gestern Abend habe ich die Scones vorbereitet (über Nacht auf Kühlpacks im Badezimmer deponiert, da das Backblech nicht in den Kühlschrank passte) und heute Morgen in den Ofen getan. Ich habe den Ofen auf 200 Grad Umluft vorgeheizt und nach etwa 12 Minuten die Temperatur weggenommen. nach 15 Minuten waren sie perfekt golden.
Ich hatte für den Morgen vor, den engsten und nächsten Freunden ein Frühstückspaket zu bringen und dafür die Scones gemacht. Normalerweise verschenke ich nichts, was ich nicht probiert habe aber auf dein Rezept habe ich voll vertraut und erst nachdem ich die Frühstückspakete ausgeliefert habe, die Scones probiert. Hatten zum Glück wirklich gut geschmeckt.und alle waren vollauf begeistert ^^
httpss://www.flickr.com/photos/118415827@N03/26890463630/in/photostream/
Ich hatte neben anderen Dingen und den Scones normalen Frischkäse und Marmelade dazu gegeben. War wunderbar.
Danke
Perfect recipe! So easy and they turned out better than any bakery version I’ve ever had. Recipe can be divided as you turn out onto surface, to make half savory and half sweet scones–4 of each. Thanks for all your trial and error so that I had none!
Will refrigerating the scones overnight deactivate the baking powder and baking soda?
Wahnsinn!!! Ich bin so lange schon auf der Suche nach dem ultimativen Rezept für Scones. So viele ausprobiert. Immer waren sie zu trocken. Habe häufiger gelesen, dass ‚das be Scones so müsse‘, aber ich konnte mir nicht erklären, warum so trockenes Gebäck so beliebt sein kann auf der großen Insel. Durch dein Rezept habe ich endlich saftige Scones gefunden!!!!
I cut my butter and freeze it overnight before making scones, is this too cold? You mentioned in the recipe to only put the butter in the freezer for a few minutes. I’m excited to try out these methods tonight!
After many tries, you have the best scones recipe ever! Perfection! Thank you
Eindeutig das beste Scones Rezept ever! Allerdings backe ich sie etwa 20 Min. bei 200 Grad da sie sonst zu deunkel werden in meinem Backofen. danach noch kehren und nochmals Unterseite 5 Minuten weiterbacken. bei nur 15 Minuten bei 220 Grad wurden sie aussen zu dunkel und innen war der Teig noch fast roh. Aber das liegt wohl an meinem Umluft-Backofen…
Danke nochmals jedenfalls!!!
i made it twice now. It’s taste like a cake more then a crumble biscuit scone. It’s delicious, but I prefer the more biscuit scone. My adult daughter loved it.
Beziehen die 220 Grad Ofentemperatur sich auf Ober/Unterhitze oder auf Umluft?